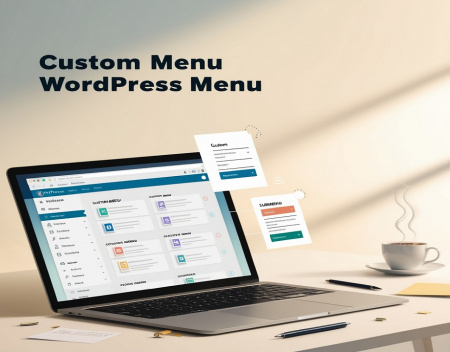
Customizing WordPress menus allows you to create an intuitive navigation experience for your website visitors. Effective menus guide users, improve site usability, and boost engagement. Here’s a step-by-step guide on customizing menus in WordPress, along with tips and tricks to optimize them for your site.
Accessing the Menu EditorFirst, you need to access the WordPress menu editor:
Here, you can create new menus, add items, and manage existing ones. Once you create or select a menu, you can begin to customize it.
Create and Organize Menu ItemsMenus consist of links to various pages, categories, posts, or custom URLs. To add items to your menu:
Tip: Keep your menu structure simple to make navigation easy. Use clear, concise labels that your visitors can understand quickly.
Use Sub-Menus for Better OrganizationIf you have multiple categories or pages, it’s best to use a dropdown menu (also known as a sub-menu) to keep your main menu clean and organized. Sub-menus appear when users hover over or click on a main menu item.
To create a sub-menu:
Trick: Limit the number of sub-menu items to avoid overwhelming users. If possible, group related items to enhance navigation flow.
Customize Menu LocationsWordPress themes offer different menu locations, like the main navigation bar, footer menu, or social links menu. You can assign your custom menu to any of these locations:
Tip: Always review your theme’s documentation to understand the available menu locations and choose the most appropriate one based on your site’s layout.
Custom Links for External or Internal PagesWordPress allows you to add custom links to your menus. These are useful when you want to link to an external website or a specific URL on your own site (such as a landing page or resource).
To add a custom link:
Trick: Use custom links to direct visitors to important resources, such as your contact page, blog, or external tools.
Add Navigation Labels and DescriptionsSometimes, the titles of your pages or posts are too long for a neat menu. WordPress allows you to customize the navigation label, so the menu displays a shorter, more appropriate version of the title.
To change the navigation label:
You can also add descriptions to menu items if your theme supports them. These can provide additional information about what users can expect from each link.
Tip: Use descriptive, action-oriented labels like "Shop Now" or "Learn More" to guide users effectively.
Menu Icons for Enhanced Visual AppealSome WordPress themes or plugins allow you to add icons next to your menu items, which can make your navigation more visually engaging. Plugins like Menu Icons by ThemeIsle allow you to add icons to your menu without editing any code.
Trick: When adding icons, make sure they’re relevant to the menu items and maintain consistency in style. Don’t overuse icons as they can clutter the design.
Responsive Menus for MobileWith an increasing number of users accessing websites from mobile devices, it’s crucial to ensure your menus are responsive. Many modern WordPress themes automatically adjust menus for smaller screens, but you can also use plugins like WP Mobile Menu to create mobile-friendly menus.
Tip: Simplify mobile menus by reducing the number of items and sub-menus to enhance user experience on mobile devices.
Advanced Customizations with CSS and PluginsFor those who want more advanced customizations, adding custom CSS or using specialized plugins can significantly enhance your menus:
Trick: When adding custom styles or functionality, ensure that changes don’t negatively impact performance or accessibility.
ConclusionCustomizing WordPress menus is essential for providing a better user experience and improving site navigation. By organizing menu items effectively, using sub-menus, optimizing for mobile devices, and utilizing plugins, you can create a seamless, visually appealing menu system that enhances your website. Whether you’re working with a simple blog or a complex e-commerce site, these tips and tricks will help you optimize your WordPress menus for usability and design.
Great experience with Computer Geek. They helped with my website needs and were professional, respon . . . [MORE].
Great, quick service when my laptop went into meltdown and also needed Windows 11 installed. Also ca . . . [MORE].
It was a great experience to working with you. thank you so much. . . . [MORE].
Thank you so much for great service and over all experience is good . highly recommended for all peo . . . [MORE].
We engaged The Computer Geeks in mid-2023 as they have a reputation for API integration within the T . . . [MORE].
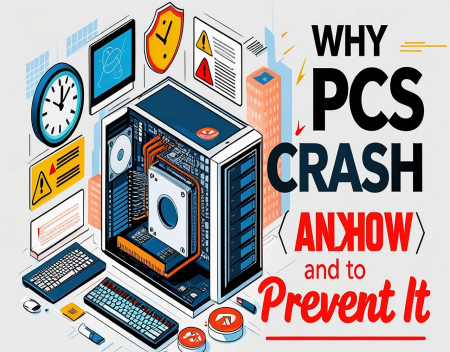
Why PCs Crash and How to

How Much RAM Do You Reall
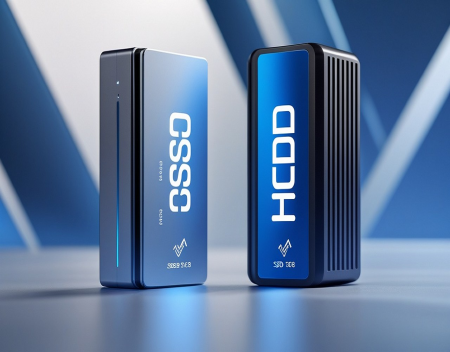
SSD vs HDD: Is It Finally