Google Analytics gives website owners the ability to track viewer activity, as well as gain a better understanding of their target audience. Website owners can make strong, data-driven decisions based on the statistics gained from Google Analytics, including who is visiting your site, how visitors interact with your site, the time of day people visit, how visitors find your site and more. Ultimately, website owners can use Google Analytics to gain a better understanding of what works and doesn't work on their site.
Create a Google Analytics account
Before we learn how to install Google Analytics onto Wordpress, it is important that you first create a Google Analytics account.
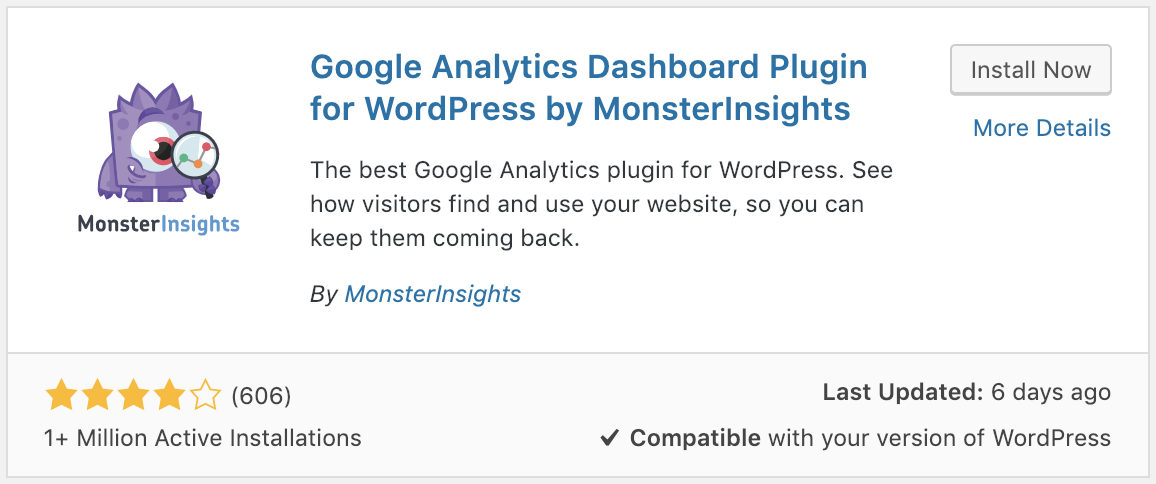
Installing Google Analytics with MonsterInsights plugin
Now that you have created your account, you can now install a Google Analytics plugin onto your WordPress website.

You're done! You can now access all your statistics and data under Wordpress -> Dashboard -> Insights. It may take a few days before Google Analytics starts showing statistics.
If you still have a problem, call us and we can help.
Great experience with Computer Geek. They helped with my website needs and were professional, respon . . . [MORE].
Great, quick service when my laptop went into meltdown and also needed Windows 11 installed. Also ca . . . [MORE].
It was a great experience to working with you. thank you so much. . . . [MORE].
Thank you so much for great service and over all experience is good . highly recommended for all peo . . . [MORE].
We engaged The Computer Geeks in mid-2023 as they have a reputation for API integration within the T . . . [MORE].
Attention as Currency: Wh
Parasocial Relationships
Digital Outrage Cycles an