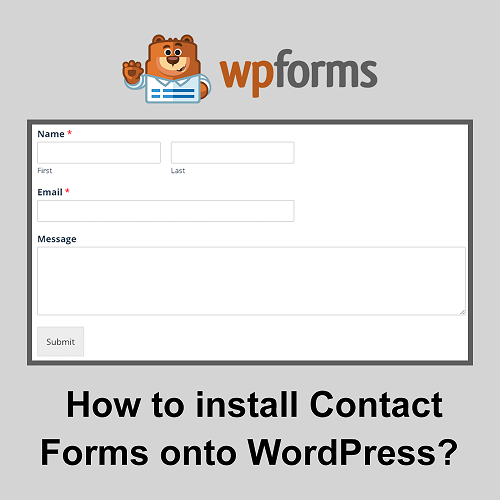
How to Install Contact Forms onto WordPress?

  • Home How to Install Contact Forms onto WordPress?
How to Install Contact Forms onto WordPress?

How to Install Contact Forms onto WordPress?

January 26, 2019
How to Install Contact Forms onto WordPress?

Contact forms serve as a useful tool for website owners, allowing visitors who are interested in your products or services to contact you directly. Rather than posting your email address onto your website, contact forms prove to be a much more effective way to communicate with your clients for these various reasons: For one, contact forms are accessible and easy to use. By filling in a few blanks, visitors can send you a direct message within seconds while browsing your site. Additionally, contact forms allow website owners to retrieve specific information from their clients, including their name, email address, phone number, and more.

Many contact form plugins allow website owners to create custom blanks which can be useful in gathering more information from potential clients. Finally, contact forms can protect you from spambots if you enable the captcha option on your plugin. Posting your email address onto your website can make you an easier target for spambots, which increases the likelihood that you will receive spam emails. It is much more difficult for spambots to target website owners with captchas because it creates extra barriers for the spambots to bypass.

Installing and using the WPForms Plugin
There are many free, easy-to-use plugins for contact forms on WordPress, but today, we are going to be installing the WPForms plugin due to its variety of customizable options.

  • Start off by logging into your WordPress dashboard and clicking "Plugins" in the left-side toolbar. Click "Add New" at the top of the screen and search for "WPForms" in the Plugins search bar.
  • "Contact Form by WPForms" should pop up as the first result. Click "Install Now" and then "Activate". You will be redirected to the WPForms introduction screen. Scroll down and click "Create Your First Form"
  • Enter the name of your form at the top of the screen and select a template. You have the choice between four different template styles: Blank Form, Simple Contact Form, Newsletter Signup Form and Suggestion Form. For the most customizability, select "Blank Form".
  • Now, you will be redirected to the "Fields" editing screen where you can customize your form. Under "Standard Fields" on the left side of the screen, you can select from a variety of fields. A standard form typically contains a Name, Email and Paragraph Text. Users can drag and drop the fields in whatever order they desire. By clicking on each section, users can customize the Label and Description of each field. It is important to note that contact forms should be made as simple as possible with only a few necessary fields. Having too many blanks to fill out can discourage visitors into contacting you, so it is best to keep it simple at 3-4 fields at the most.
  • Once you are happy with the layout of your contact form, click "Settings" in the left-side toolbar. Under the "General" tab, ensure to check off these boxes: "Enable anti-spam honeypot" and "Enable reCAPTCHA". If you do not have a reCAPTCHA account, go to: https://www.google.com/recaptcha/intro/v3.html and retrieve your reCAPTCHA Site Key and Secret Key.
  • Next, click "Notifications". Users can edit a variety of options including which email these messages will be sent to. WPForms presets to send messages to your WordPress email, but you can change this by entering a new email address under "Send To Email Address".
  • Under "Confirmation", website owners an edit the message visitors will receive after submitting the form. Once you are happy with the layout and settings for your contact form, click "Save" in the top right corner of the screen.
  • After saving your form, users can now embed the contact form onto their website. Click "Embed" in the top right corner and copy the shortcode. You can now paste this shortcode onto any page on your website.

You're done! Viewers can now message you directly through your contact form.


To Make a Request For Further Information

5K

Happy Clients

12,800+

Cups Of Coffee

5K

Finished Projects

72+

Awards
TESTIMONIALS

What Our Clients
Are Saying About Us

Get a
Free Consultation


LATEST ARTICLES

See Our Latest
Blog Posts

How to Add Custom Post Types in WordPress
September 15, 2024

How to Add Custom Post Ty

Top WordPress Plugins for SEO Optimization
September 14, 2024

Top WordPress Plugins for

How to Create a Membership Site Using WordPress
September 13, 2024

How to Create a Membershi

Intuit Mailchimp